🔧 Apparatus
A beaker, a strip of chromatography paper, a pencil, a ruler, capillary tubes, the coloured samples, a solvent such as water, and something to hold the paper up, like a glass rod or a clip.
Sign up to access the complete lesson and track your progress!
Unlock This CourseIn this practical you use paper chromatography to separate coloured substances and to tell the difference between them. You then calculate Rf values from your results. The ideas behind the method are in the lesson on Chromatography. Here we focus on doing it properly, getting good results and answering exam questions on it.
A typical task is to test several unknown food colourings, or inks, and decide which ones are made of the same dyes as a known sample.
Key terms:
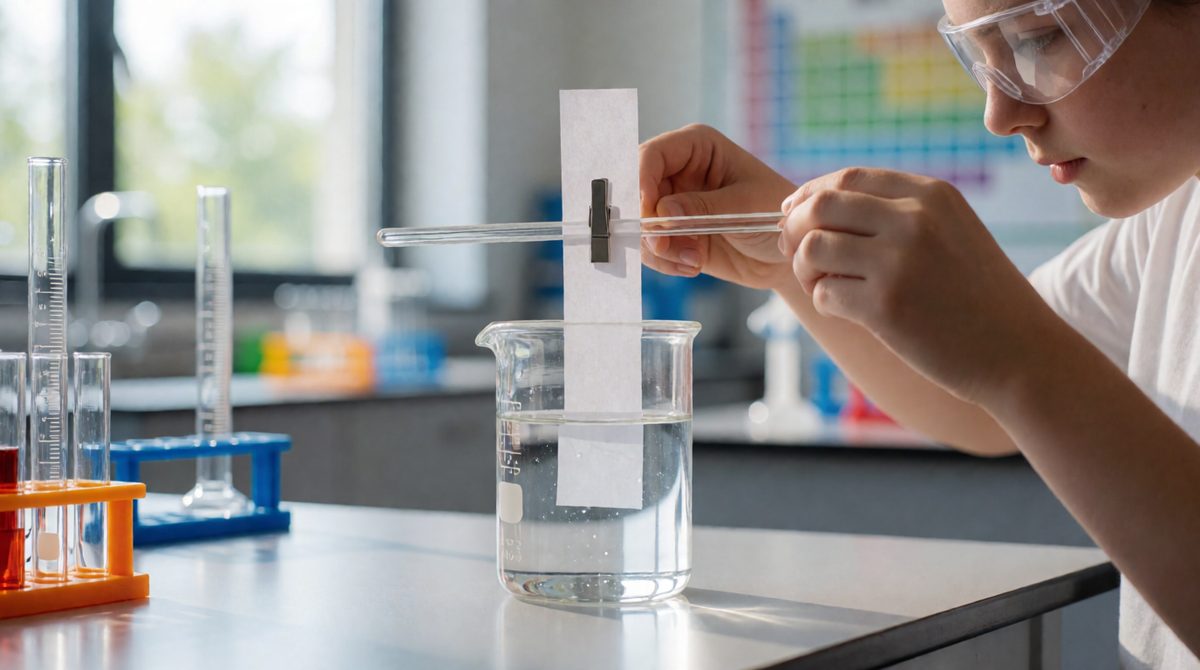
Pencil for the start line, solvent below it - get the setup right and the dyes separate cleanly up the paper
A beaker, a strip of chromatography paper, a pencil, a ruler, capillary tubes, the coloured samples, a solvent such as water, and something to hold the paper up, like a glass rod or a clip.
Wear eye protection. If the solvent is flammable, keep it away from flames. Clear up spills quickly. Do not taste any of the samples, even if they are food colourings.
Follow these steps in order:
Pencil is made of graphite, which does not dissolve in the solvent. Pen ink is often a mixture of dyes. It would run up the paper with your samples and give extra spots that are not part of your results.
If the spots start under the solvent, the dyes dissolve into the beaker instead of travelling up the paper. You would see nothing on the paper.
Large spots spread out and overlap. Tiny spots give clear, separate dots that are easy to measure.
The lid matters too. It keeps the air in the beaker full of solvent vapour, so the solvent moves up the paper evenly. Marking the solvent front at once matters because the solvent keeps evaporating from the paper and the line soon disappears.
Changing the solvent changes the Rf values. So you can only compare results that used the same solvent.
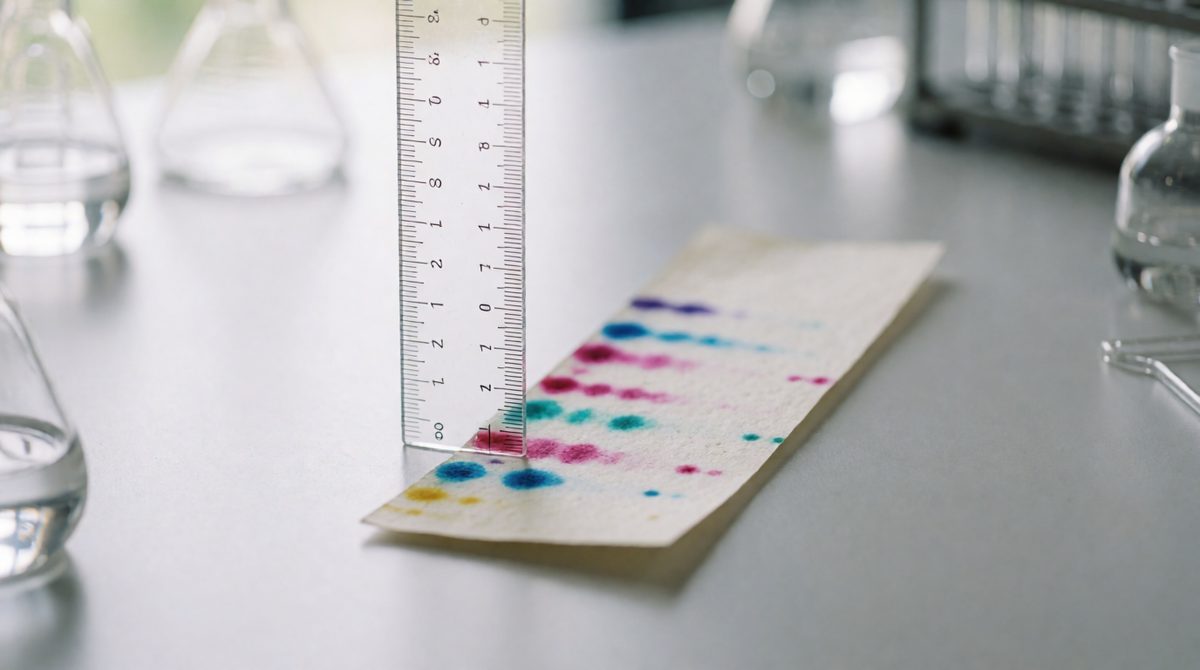
Measure from the pencil baseline, not the paper edge, then Rf = distance moved by spot ÷ distance moved by solvent
Use a ruler and measure in millimetres or centimetres. Always measure from the baseline, not from the bottom edge of the paper.
Then use the equation you met earlier: Rf = distance moved by substance ÷ distance moved by solvent. Both distances must be in the same units. Rf has no units and is always less than 1.
A student tests a purple sweet colouring. The solvent front is 8.0 cm from the baseline. The pink spot is 5.6 cm from the baseline and the blue spot is 2.0 cm from the baseline.
Pink: Rf = 5.6 ÷ 8.0 = 0.70
Blue: Rf = 2.0 ÷ 8.0 = 0.25
So the purple colouring is a mixture of two dyes.
To compare samples, run them side by side on the same paper with the same solvent. If two spots travel the same distance, they could be the same substance. If they end up at different heights, they are different substances. If you run a known dye next to your unknown sample, you can check by eye whether the unknown contains it, then support this with the Rf values.
Three sweets, A, B and C, are tested next to a known orange dye. The solvent front is 10.0 cm. The orange dye has a spot at 6.5 cm. Sweet A has a spot at 6.5 cm. Sweet B has spots at 3.0 cm and 7.5 cm. Sweet C has spots at 6.5 cm and 2.0 cm.
The Rf of the orange dye is 6.5 ÷ 10.0 = 0.65. Sweets A and C both have a spot at 0.65, so they contain the orange dye. Sweet B has no spot at 0.65, so it does not.
Drawing the baseline in pen, so the ink runs. Putting the spots below the solvent level. Measuring to the top of a spot instead of the centre. Measuring from the edge of the paper instead of the baseline. Forgetting to mark the solvent front before it dries. Using different solvents and then comparing Rf values.
A student uses paper chromatography to find out whether a green ink contains the dyes in a known sample, dye P. (a) Explain why the start line is drawn in pencil. (b) The student sets up the beaker so that the start line is under the solvent. Explain what would go wrong. (c) The solvent front moves 12.0 cm and a spot moves 9.0 cm. Calculate the Rf value.
(a) Pencil does not dissolve in the solvent, so it does not run up the paper and make extra spots. Pen ink would.
(b) The dyes would dissolve in the solvent in the beaker instead of travelling up the paper, so there would be no separation on the paper.
(c) Rf = 9.0 ÷ 12.0 = 0.75
Show your working for Rf: write the equation, put the numbers in, then give the answer. Marks are often given for the method even if the final number is wrong.